(Photo: pixabay.com)
Set up home server with Ubuntu
**At some point, it's time to call it quits: a new PC is needed. But do you really have to dispose of the old PC or can it even serve as a home server for the whole family? We show what a homeserver can do and how the conversion succeeds.
...  By Markus Fleschutz 🕑 May 15, 2020
What features does a home server offer?
- Central data storage for movies, photos, eBooks, documents, etc.
- Central backup for data from all devices and services.
- DLNA server to deliver movies, music and photos to smart TV's
- Dashkiosk for any device (digital signage)
- Digital video recorder
- Audio/Video Conference Server
- Smart Home Server
- Game Server for ARK, Minecraft, etc.
- Web-Server for own homepage
- Git-Server for own software projects
- grafana-Server for data visualization
- NextCloud server / IPFS server / Remote Desktop / and much more.
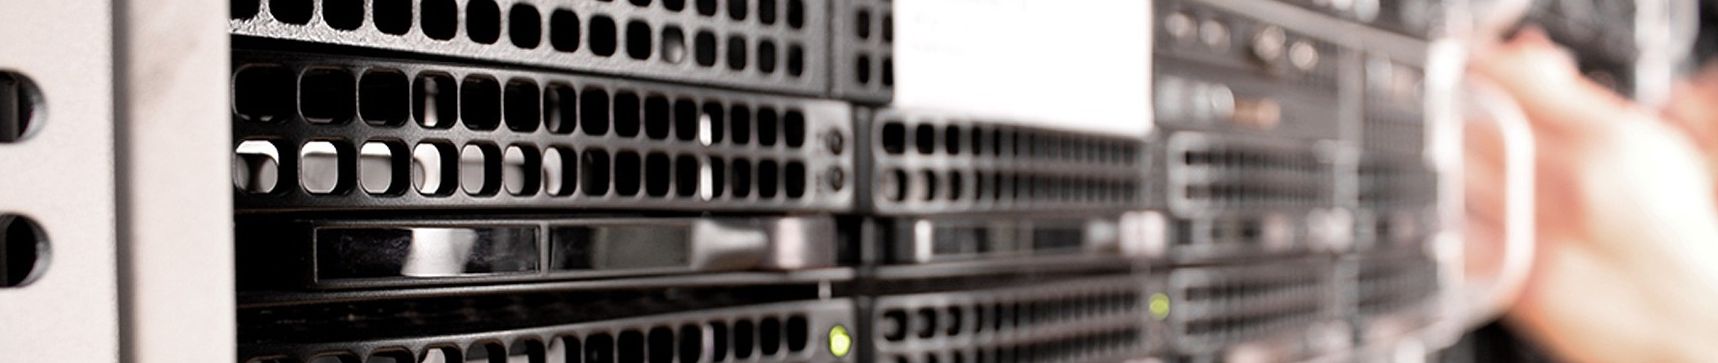
1️⃣ The hardware
A home server needs a mainboard with a stable running CPU (check and clean CPU fan!), a power supply, enough RAM (the more the better), at least one SSD or hard disk (possibly fan necessary!) and a network connection (at least Gigabit Ethernet).
A possible overclocking should be undone in the BIOS and the latest BIOS update should be installed. To be on the safe side, the BIOS settings should be set to default.
Note: Every additional hardware does not only mean higher power consumption, but also higher failure probability!
2️⃣ Installing the operating system
- on Windows/Linux/MacOS, download and run the UNetbootin software, then download and install the Ubuntu Server Live 20.04 LTS (64-bit) on a USB stick (min. 4 GB capacity). After that, eject the USB stick properly. Important to know: LTS versions are supported up to 10 years, all others up to 2 years.
- start the homeserver with the USB stick and configure the BIOS first. Possibly import a BIOS update, set the boot order with USB stick as number 1, possibly disable overclocking, enable Wake-On-LAN for the network card, disable EuP 2013, ... switch off by BIOS. After that "Save & Reboot". Install Ubuntu Server: Language: English, Keyboard: German, Mode "Install on entire disk". Finally remove the USB stick and reboot.
Note: After OS installation, remove graphics card, CD/DVD/floppy drives and all other PCI cards no longer needed!
3️⃣ sudo without password request.
Already when logging in with ssh or via desktop the password is requested. Furthermore, having to enter the password for every sudo command is just annoying. As a remedy, simply edit the file /etc/sudoers with a text editor and append the following line: (replace tom with the username).
tom ALL=(ALL) NOPASSWD:ALL
4️⃣ Enable Livepatch Service
With Live Patching, kernel security fixes can be installed without having to reboot the PC. This greatly reduces downtime of the home server. Up to 3 devices can be equipped with it for free.
Click on this link, get a token and activate as follows:
$ sudo snap install canonical-livepatch
$ sudo canonical-livepatch enable [TOKEN]
5️⃣ Installing Software Packages
For security reasons, only the most necessary software packages are installed:
$ sudo apt update
$ sudo apt upgrade
$ sudo apt install htop smartmontools samba curl pm-utils hddtemp snap zfsutils-linux zfs-initramfs zip
And to be on the safe side check hard disks/SSD's with S.M.A.R.T: (replace XXX)
$ sudo smartctl --smart=on --nocheck=standby --offlineauto=on -t long /dev/sdXXX
and after test end:
$ sudo smartctl -a /dev/sdXXX
6️⃣ Install snaps
Snaps are software packages that run completely isolated from each other, bring all the necessary libraries right along with them, and only have access to shared areas. All this together increases system stability quite significantly. For a home server the following Snaps are particularly interesting:
-
the compact media server MiniDLNA.
MiniDLNA is a compact DLNA/UPnP media server. It delivers media files (music, pictures, videos) to smart TV's, computers, laptops, tables, and cell phones in the home network. The following command downloads and starts the DLNA server:
$ sudo snap install --classic minidlna-escoandThe configuration has to be adjusted under
/var/snap/minidlna-escoand/current/minidlna.conf(only the media directory). With the bro